Shamrock Ice Painting
Shamrock Ice Painting was my two's favorite Saint Patrick's Day craft this year! This activity is easy to put together, but make sure you plan in advance to allow the water time to freeze. After painting with ice, we made this into a simple science experiment. I found this idea on Toddler Approved.


Supplies:
- Shamrock Ice Mold
- Water
- Green Food Coloring
- Popsicle Sticks
Directions:
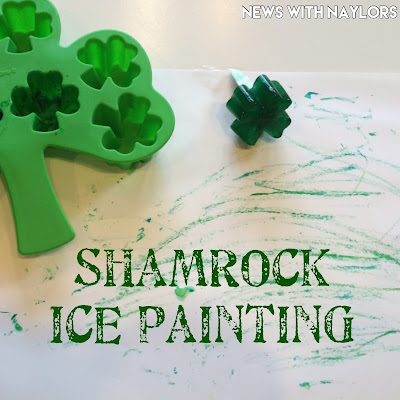
1) Place 2-3 drops of green food coloring into each shamrock in the ice mold. Fill the shamrocks with water and place a half a popsicle stick in each mold. You may want to stir the shamrocks to make sure the food coloring is distributed evenly. I taped my popsicle sticks into place, so they would stay upright (see picture below). Note: It helped to put the mold on a cookie sheet, so it transferred easily from the counter to the freezer.

2) When you're ready to paint, simply pop the shamrocks out of the ice mold and give your child a piece of paper to paint on.

3) My two finished painting after a few minutes, so we made this into a simple science experiment by observing the ice shamrocks melt. First, we tried salt. And then we tried warm water. My two agreed that warm water melted the ice shamrocks quicker. Next time I'll make more shamrocks, watching the shamrocks melt was the best part of this activity for my two.


